BaerFix® Instructions for use
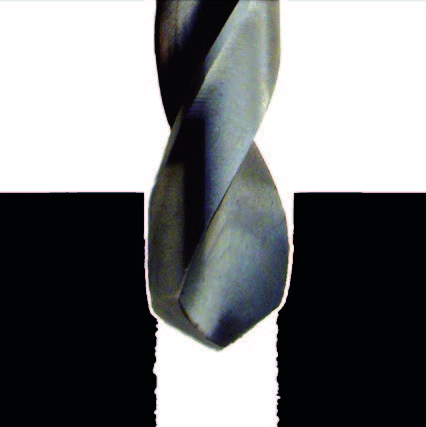
1. Core drilling

Use a core drill to ream the old hole.
If necessary, countersink the hole with a taper countersink.
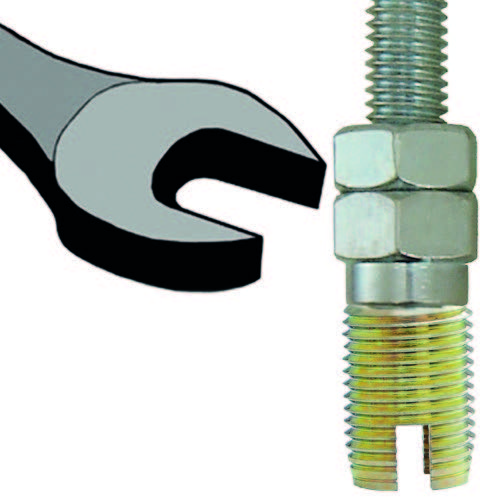
2. BaerTurn fixed onto the installation tool

BaerScrew the fixed thread insert, with the cutting slots facing downwards, onto the installation tool and lock it with the nut. To do this, use an open-end wrench or similar.
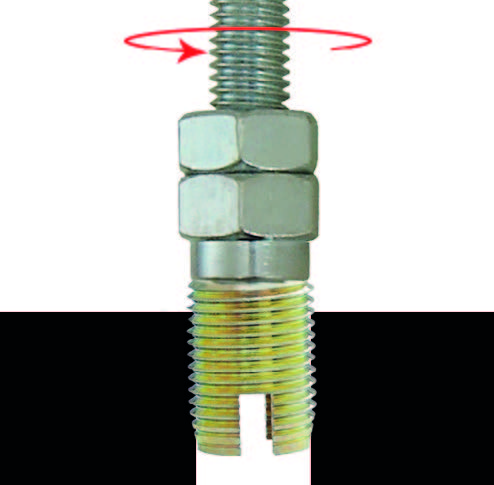
3. BaerFix screw in

BaerFix into the bore hole. The BaerFix thread insert cuts its own mounting thread. The installation tool has a 1/4" hexagon socket (bit socket) and can therefore be screwed in with a cordless screwdriver, ratchet, nut or similar.
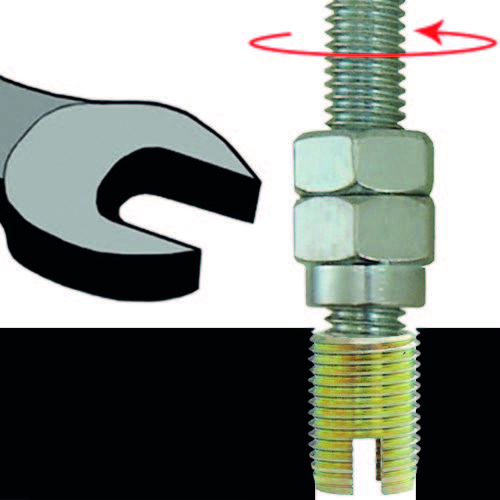
4. Loosen lock nut and unscrew installation tool

Loosen the lock nut again with an open-end wrench and unscrew the installation tool. With BaerFix, the thread is now more wear-resistant, heavy-duty and vibration-proof than the original thread.
Application areas
Aluminum, light metals, non-ferrous metals, brass, bronze, cast iron, plastics, laminates, hardwood, etc.
Application areas in mechanical engineering, automotive, electrical and medical technology as well as aerospace.
- Thread repair of damaged or worn threads
- Scrap recovery
- Thread reinforcement for materials with low shear strength e.g. aluminum and plastics
For hard, solid and tough materials
For hard, solid and tough materials, e.g. high-alloy steel, the holding thread must first be cut
with a tap (pre-tap, maximum center tap).

